
Screen Print Size Across T-Shirt Sizes: One Artwork or Multiple Scales?
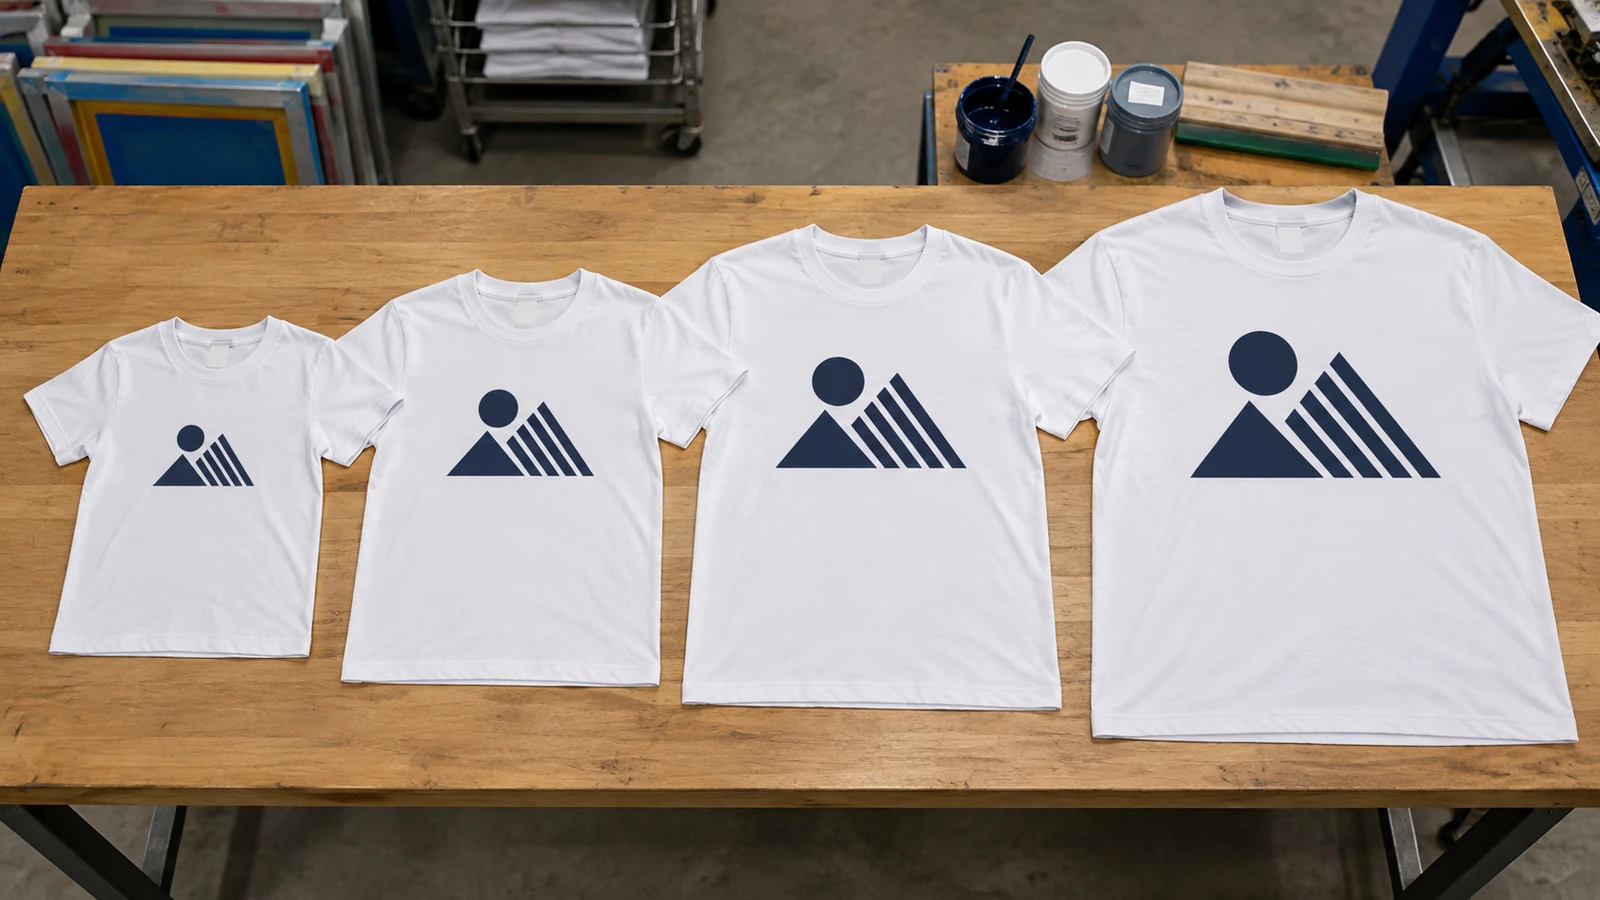
Using one screen for every garment size is efficient, but a print that looks balanced on M can dominate XS or look undersized on 4XL. Buyers should decide whether consistency means one physical print size or one consistent visual proportion.
In This Article
Direct Answer
One artwork size often works well across a moderate size range, especially for left-chest logos and mid-sized front prints. For very wide size ranges or oversized garments, compare the same print on the smallest and largest shirts before deciding whether a second scale is worth the extra setup.
Separate physical consistency from visual consistency
If every shirt receives a 28 cm-wide front graphic, the physical print size is consistent. The visual result is not: 28 cm may occupy most of the chest on a small shirt and a much smaller percentage on a 5XL. Neither approach is automatically wrong. Some brands prefer the exact same print dimensions because merchandise photographed together looks uniform and production is simpler. Others want the artwork to feel proportionate to the garment. The buyer should choose the objective before the printer burns screens, because changing scale later can mean new films, screens and setup rather than a minor adjustment.
Use the smallest and largest garments as the approval pair
A useful approval test does not need every size. Lay the intended print on the smallest and largest garments in the order, then check the visual width against chest seams, armholes and overall body width. If both extremes feel acceptable, the middle sizes usually fall into a workable range. If the small shirt feels crowded or the large shirt looks empty, introduce a second artwork scale and divide the size range at a sensible point. For example, one scale might serve XS–XL and a larger scale 2XL–5XL. The exact break should follow the garment measurements, not a generic rule copied from another brand.
Placement can need adjustment even when print size stays fixed
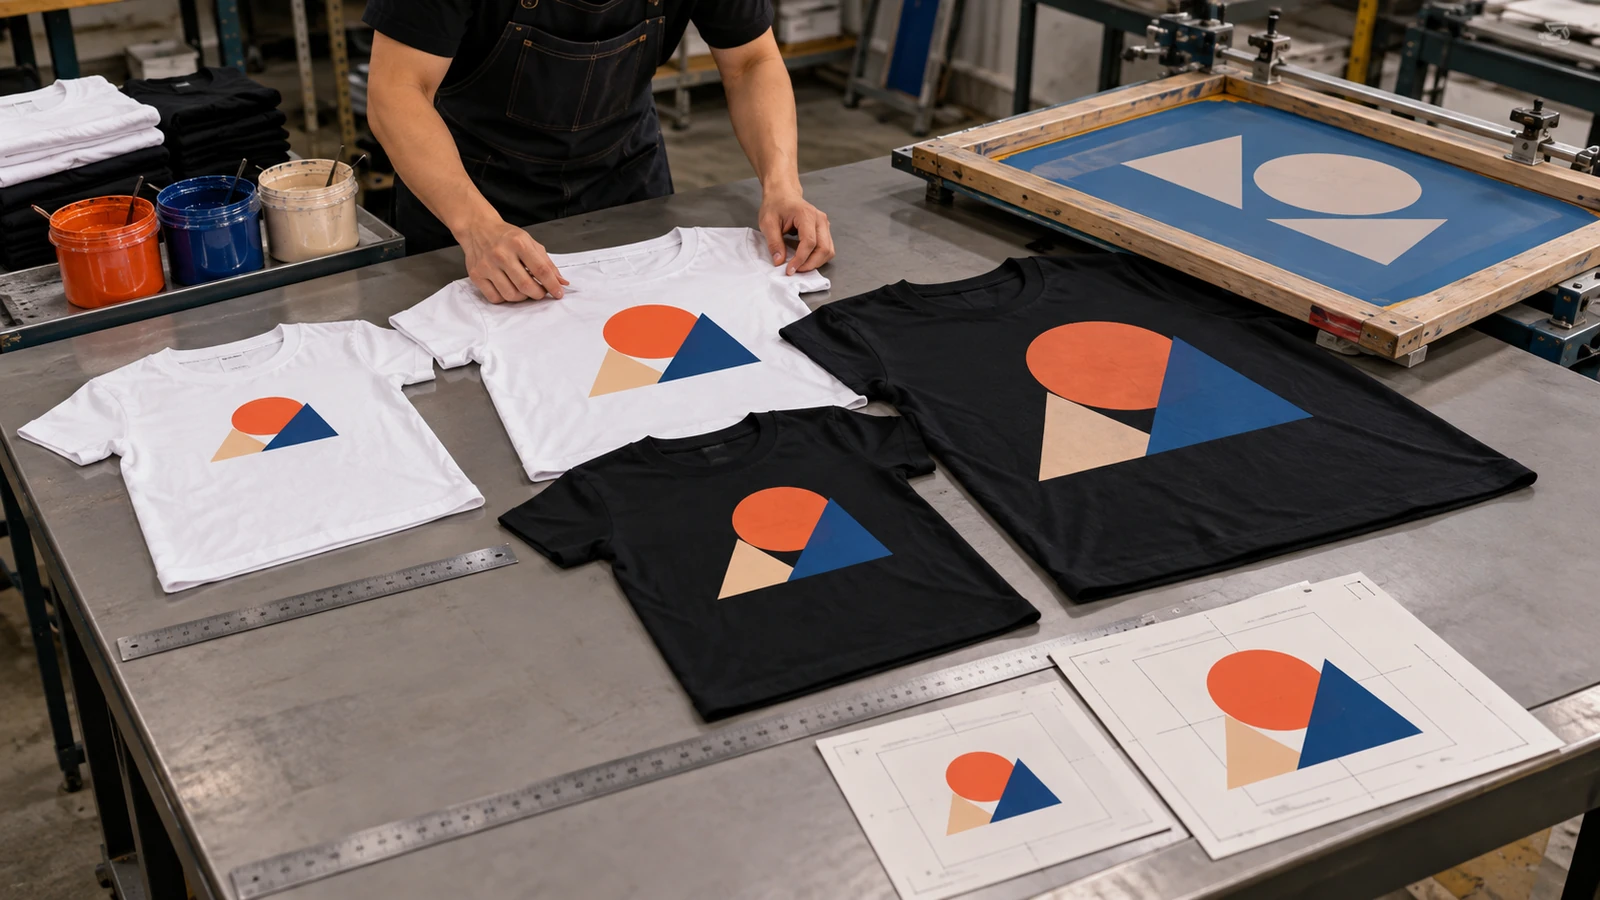
A print measured from the collar seam can sit differently when neck openings, shoulder slopes and body lengths change across sizes. Left-chest logos are especially sensitive because a few centimetres of movement can make the mark appear too close to the placket, sleeve or centre line. Use a placement guide referenced to the actual garment pattern rather than eyeballing each shirt. For oversized and drop-shoulder tees, standard chest coordinates from a regular-cut shirt may position the print too far inward. If the artwork is large, also check how it behaves when the shirt is worn rather than lying flat, because the body curves around the print. The production sheet should record both print dimensions and placement logic.
A second scale adds cost, so use it where it solves a real problem
Every additional print scale can require separate screens for each colour, more setup time and more chances to mix the wrong screen with a garment size. A two-colour design with two size scales may effectively double the screen set compared with one universal size. That cost can be justified when the order includes many pieces at both extremes of the range or when brand presentation is important. It is harder to justify for three 4XL shirts in an otherwise medium-heavy order. Ask the printer to price the universal and split-scale options so the design decision is connected to the real production impact. Good specification means knowing when visual improvement is worth the extra setup.
Keep a size-to-screen map for repeat orders
If the order uses more than one artwork scale, write the mapping into the production record. A clear note such as “XS–XL = screen A; 2XL–5XL = screen B” is safer than relying on memory. Record the exact print width, height and placement for each scale and keep photos of the approved samples. On a reorder, confirm that the garment model has not changed, because a different chest width can shift the point where the larger scale becomes necessary. If new sizes are added later, compare them against the retained samples before assigning a screen. This turns a subjective sizing decision into a repeatable production system.
| Order situation | Likely approach | Reason |
|---|---|---|
| Narrow size range | One print scale | Simple and usually visually consistent |
| XS to 5XL | Test extremes; consider two scales | Large proportional change across garments |
| Left-chest logo | Usually one scale; refine placement | Small marks tolerate size variation better |
| Oversized/drop-shoulder tees | Recheck size and coordinates | Cut changes the visual centre |
The right question is not “one screen or two?” but “does one physical print size still look intentional at both ends of the size range?”
Frequently Asked Questions
Do screen printers normally change artwork size for every shirt size?+
No. Most orders use a limited number of print scales because a separate screen for every size would add unnecessary setup.
Should 4XL always use a bigger print?+
Not always. Compare the actual garment and artwork; some designs still look balanced at one universal size.
Does oversized cutting change placement?+
Yes. Drop shoulders and wider bodies can make standard coordinates look different, so physical sampling is useful.
Plan the Production Before You Order
For wide size ranges, ask for a smallest-versus-largest placement check before the full silkscreen run is approved.
Contact Us