
Large-Format Banner Artwork: Resolution, Viewing Distance and File Setup
Large-format artwork does not need the same pixel density as a brochure viewed from 30 centimetres away. The right file setup depends on final size, viewing distance, image quality and how the printer will finish the banner or backdrop.
In This Article
Direct Answer
Large-format artwork does not need the same pixel density as a brochure viewed from 30 centimetres away. The right file setup depends on final size, viewing distance, image quality and how the printer will finish the banner or backdrop.
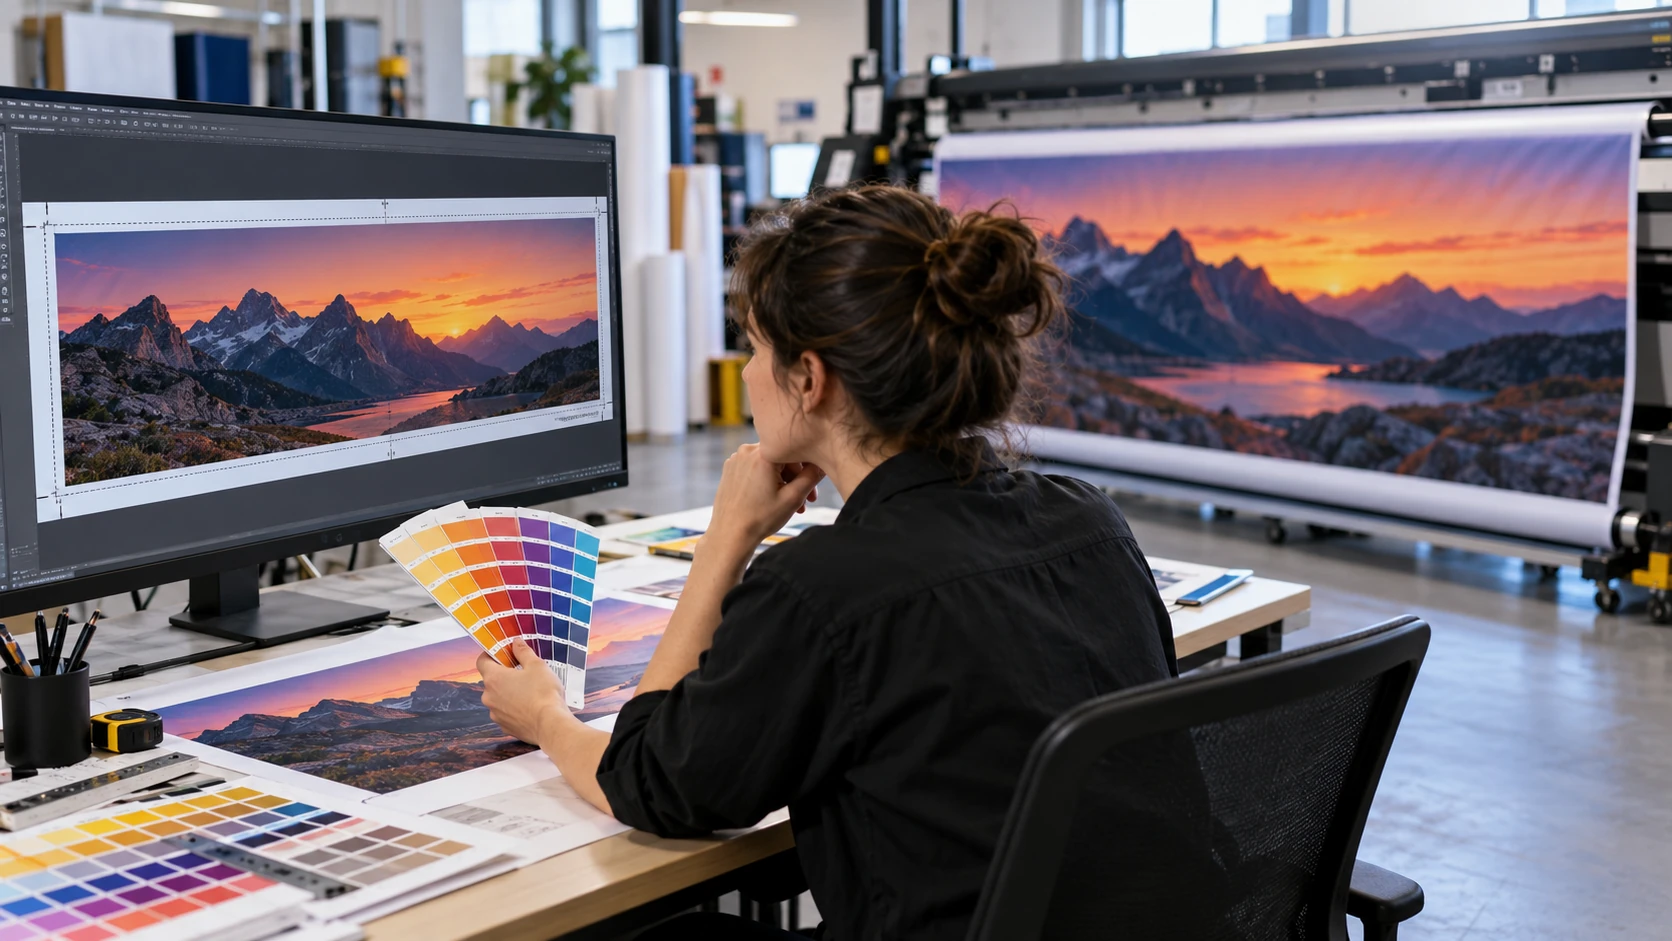
Design at Final Size or Use a Declared Scale
Large artwork can become unwieldy if every file is built at full size, so some workflows use 1:2, 1:4 or 1:10 scale. That is workable only when the scale is explicit and every linked image has enough effective resolution after enlargement. A 1000 mm element designed at 1:10 becomes 10,000 mm in production; any raster image inside it is enlarged by the same factor. Put the scale in the production notes and filename rather than relying on memory. Keep vector logos and text as vector where possible because they scale cleanly. The dangerous file is not the scaled file; it is the scaled file nobody realises is scaled.
Resolution Should Follow Viewing Distance
A brochure may be inspected close enough to reveal individual image defects, while a stage backdrop is normally viewed from several metres away. That difference allows large-format work to use lower pixel density than small-format print without appearing soft at its intended distance. There is no single magic DPI for every banner because image content and printer workflow vary. Instead, check the effective resolution at final output size and ask the printer for the preferred range for that device and material. Avoid enlarging a small web image until it fills a wall; interpolation can add pixels but cannot recreate missing detail. Judge critical photographs at a realistic viewing scale, not only zoomed out on a laptop.
| Check | Why It Matters | Typical Failure |
|---|---|---|
| Declared scale | Controls all dimensions and raster enlargement | File printed at wrong size |
| Effective image resolution | Determines visible detail | Soft or pixelated photos |
| Safe area | Protects content from finishing | Eyelet or hem cuts into logo |
| Viewing distance | Controls hierarchy and type size | Readable file, unreadable banner |
Keep Critical Content Away From Finishing Areas
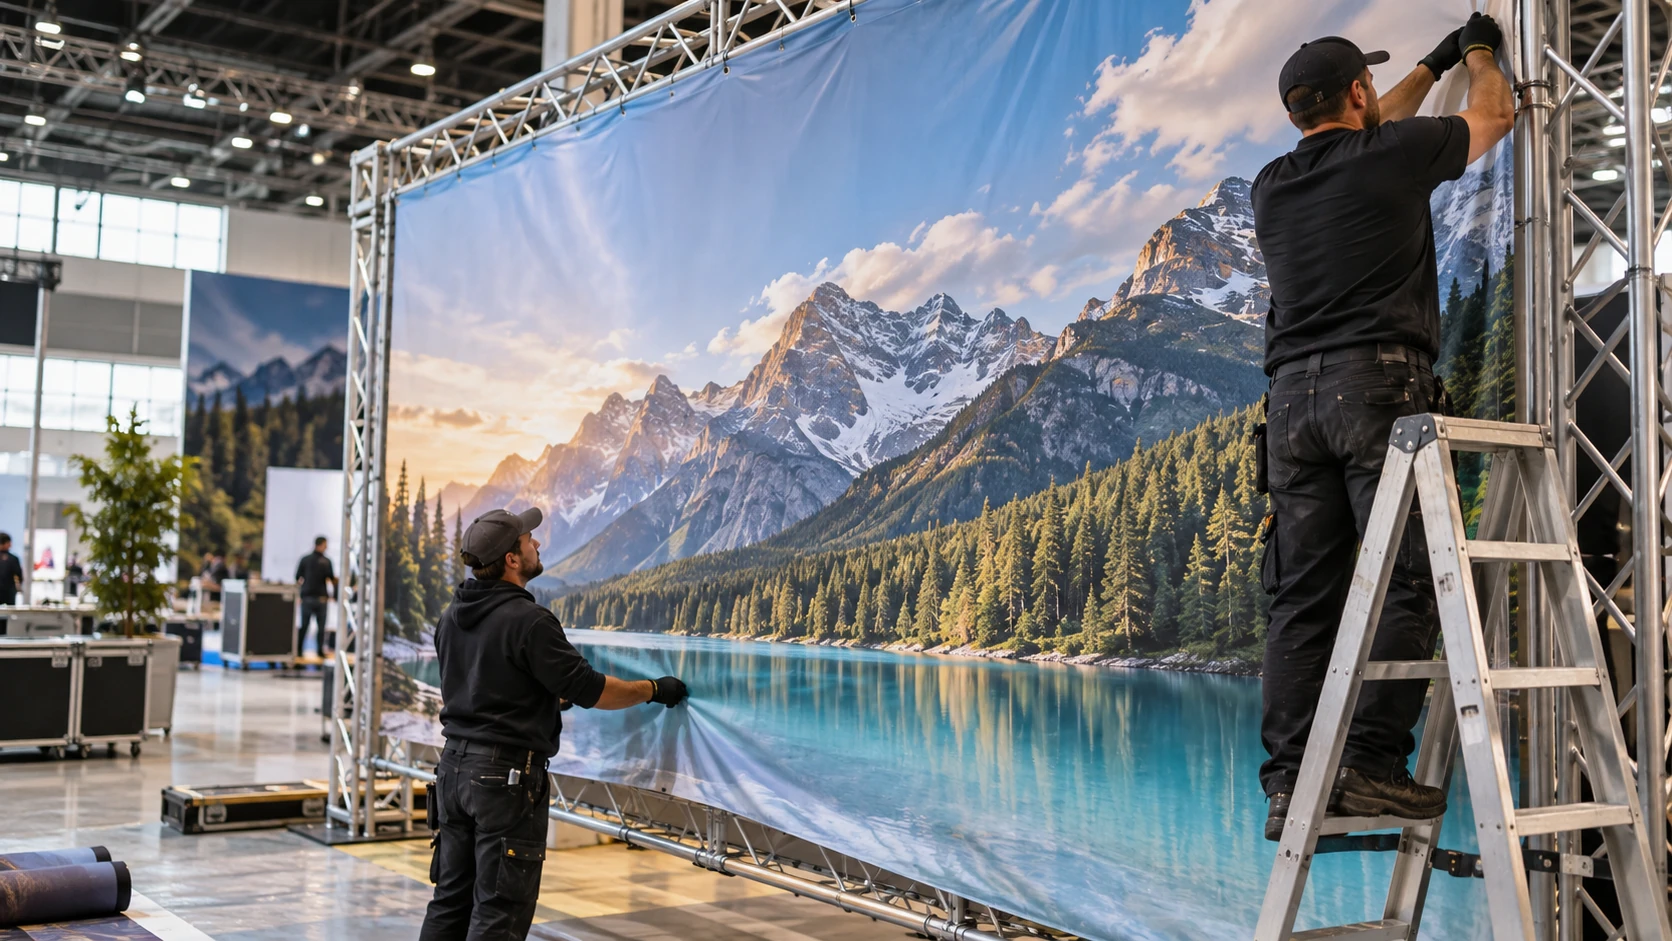
Banners are not only printed; they are hemmed, eyeleted, pocketed, stitched, taped or mounted into hardware. Those finishing operations consume space near the edges. A logo placed a few millimetres from the trim line can be cut, folded or interrupted by an eyelet. Build a safe area that reflects the actual finishing method and keep small text, QR codes and important faces inside it. Background colour and images can extend into bleed where required, but critical content should not. Ask about finishing before finalising the layout, not after the artwork is approved.
Thin Lines and Small Text Do Not Scale Emotionally
Technically, a 12-point line of text can be enlarged proportionally with the banner. Practically, people may still be expected to read it from five or ten metres away while walking past. Large-format design is therefore a visibility problem as much as a file-resolution problem. Reduce copy, strengthen hierarchy and test the design at the intended viewing distance. For a retail banner, the main message should be understood quickly; for an exhibition backdrop, logos need enough separation to remain readable in photographs. A file can be perfectly printable and still be ineffective.
Use a Preflight Checklist Before Sending the File
Before release, confirm final dimensions, scale, bleed, safe area, colour mode, linked images, fonts or outlined text, and the required output format. Check that raster images have adequate effective resolution at final size and that logos are not low-resolution screenshots. Review black areas, gradients and transparency if the artwork uses them heavily. If the piece will be tiled across several panels, ask how seams or overlaps are handled so faces and important text do not land on joins. Save the approved production PDF separately from the editable source. That creates a clear reference if the same banner is reprinted later.
Large-format artwork should be judged at final size and intended viewing distance—not by how sharp it looks while zoomed out on a laptop.
Frequently Asked Questions
Does every banner need 300 DPI?+
No. Large-format output is normally viewed farther away; use the printer's preferred effective resolution for the final size and application.
Can I send a Canva or PowerPoint screenshot?+
A screenshot often lacks enough resolution and may rasterise text or logos. Export a proper print-ready file instead.
How much safe area should I leave?+
It depends on hemming, eyelets, pockets, frames and other finishing. Confirm the production method before final artwork.
Need Production Support?
If this issue affects an upcoming apparel or printing order, JCP can help review the material, artwork and production requirements before bulk production.
Discuss Your Requirements