
Heat-Transfer Apron Logos: Placement, Fabric and Pressing Checks
Aprons are practical work garments for cafés, kitchens, craft businesses and event teams, but their pockets, straps and folds make decoration less straightforward than printing onto a flat T-shirt. A heat-applied logo can give a clean result on an appropriate fabric, yet placement and press conditions need attention. Before approving an apron order, identify how the wearer moves, what the apron is made from and which sections can safely be pressed without seams or hardware interfering with the transfer.
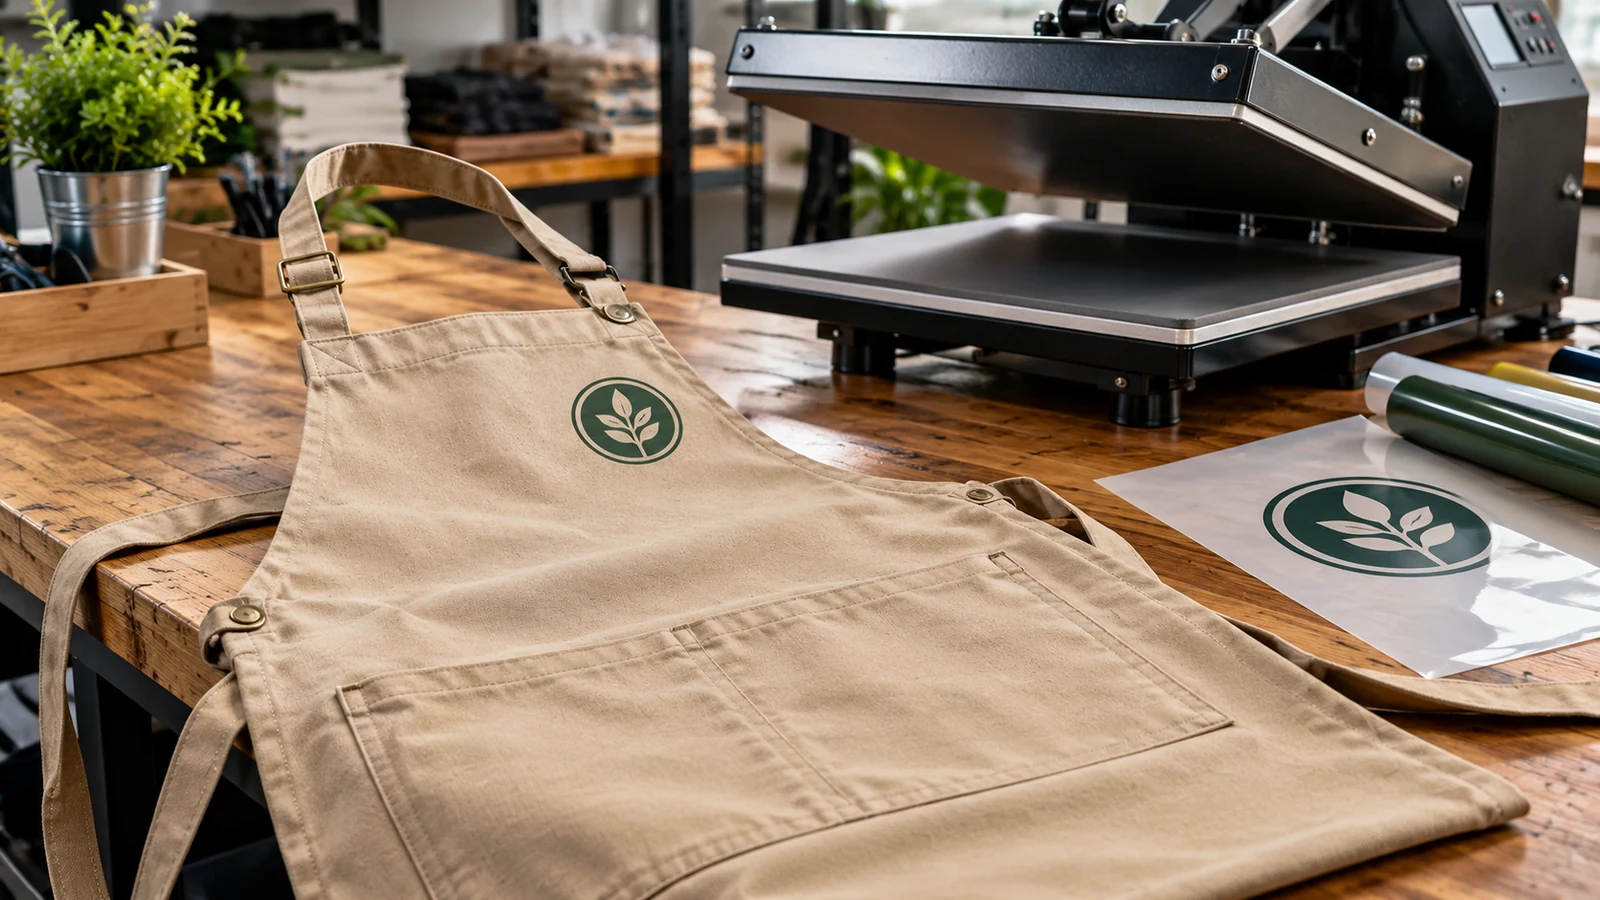
Read the apron construction before placing artwork
Lay the apron flat and identify the bib, waist, pocket edges, top strap attachments, seams and any lining. A logo that appears centred on a digital rectangle may become too low once the apron is tied on a person. Bib width varies by model, and the visual centre is not always the geometric centre of the fabric panel. A simple paper cut-out of the intended logo can help the team judge position while the apron is actually worn.
Do not position important letters over a pocket seam or heavy layered corner. These areas create thickness differences under the press, which can prevent even contact and produce lifting around the design. Metal eyelets, buckles, buttons and clips can also obstruct the platen or be affected by heat. If the apron has an unusual shape, agree on a measurement from a stable construction point such as the top edge of the bib, rather than estimating placement from the bottom hem.
Check textile and heat compatibility first
Cotton, polyester blends and coated fabrics can respond differently to heat. Some materials tolerate a transfer process well; others may scorch, shrink, lose sheen or deform before the adhesive reaches its required bonding conditions. The care label is only a starting point, not a substitute for a supplier-led test. Ask whether the apron model has been successfully decorated using the chosen transfer and whether the operator can conduct a test on the actual material.
Temperature, pressure and dwell time should follow the transfer manufacturer’s specification and the garment’s limits. Increasing heat to solve poor adhesion is not a safe universal fix. It can damage the cloth or create a glossy rectangle around the design. Likewise, insufficient or uneven pressure can leave corners vulnerable to lifting. A trial print on a spare apron or approved sample can reveal compatibility before an entire order is exposed to the process.
Choose artwork that survives work and washing
An apron logo is often seen while the wearer bends, reaches and stands behind a counter. A small, clearly contrasted symbol on the upper bib can be more visible than a complicated image across the waist pocket. Avoid extremely fine isolated strokes if the transfer method struggles with them. Keep sufficient space between letters so they remain readable at normal customer distance, and consider whether food stains or flour dust might obscure a pale-coloured print.
If the brand uses several colours, check whether a full-colour method is necessary or whether a restrained one-colour mark would be more consistent. Where embroidery is preferred, the pocket and seam restrictions still matter, though the machinery and stabilisation requirements differ. JCP’s verified heat-press and embroidery information is relevant to such discussions; suitability for a particular apron remains dependent on fabric, artwork and the selected application system.
Prevent poor contact around pockets and straps
Pressing a decorated apron requires a reasonably flat surface beneath the transfer. A pocket seam can form a ridge that holds part of the design away from the platen. Operators may use suitable pads or supporting arrangements to level the area, but these should be chosen for the specific heat press and apron construction. The buyer’s job is to identify problematic zones early, not to improvise machine settings without training.
Check whether the apron has a removable strap or adjustable buckle. If the construction allows a clear bib area, use it. If the customer insists on printing near a pocket, have the supplier document the method and approve a sample that includes the actual obstruction. Do not assume a successful transfer on a plain cotton square demonstrates performance over an assembled apron. The final garment, with all layers and hardware present, is the meaningful test object.
Think about laundering and kitchen conditions
Some apron environments involve oils, detergents, repeated washing and occasional splashes. No logo process is impervious to all cleaning practices. Obtain the correct wash instructions for both the apron fabric and its decoration, and give them to staff alongside the uniform. If hot washing or industrial laundering is essential, make that requirement known before selecting the transfer rather than discovering later that the care advice conflicts with normal operations.
A realistic sample test should include multiple wash and dry cycles, not only an attractive first-day appearance. Inspect for corner lifting, cracking, colour loss and distortion of the apron panel. If the wearer uses bleach, strong degreasers or specialised sanitising procedures, discuss compatibility with the supplier. Avoid claiming the finished apron is suitable for any professional hygiene requirement unless the entire garment system and washing process have been assessed by appropriate specialists.
Prepare an approval and reorder specification
For the order record, note apron model and colour, fabric composition if known, transfer artwork version, print dimensions, exact location, chosen process and care instructions. Photograph the sample on a wearer so future staff can identify the intended look, but preserve measurements as well. Check logo placement across different apron sizes or neck-strap adjustments, because the same coordinate can look different on short and long bib models.
During receiving, inspect a representative selection of finished aprons for alignment, complete bonding and fabric marks around the image. Do not stretch a newly applied transfer until the supplier’s recommended cooling or curing conditions have been met. For repeat orders, keep the approved garment model and ask whether the underlying fabric is unchanged. A disciplined workflow makes a branded apron practical and presentable without adding avoidable production risk.
Frequently asked questions
Can a heat transfer be applied directly across an apron pocket?
Sometimes, but pocket seams and layered fabric can prevent even pressure. A test and suitable pressing setup are required; moving the logo may be simpler.
Is every cotton apron safe for heat pressing?
No. Finishes, blends, dyes and construction details can affect heat tolerance. Test the specific apron with the proposed transfer system.
Should the logo be centred on the bib?
Often it is a sensible starting point, but visual position should be tested on a wearer, with the straps adjusted as normally used.
How should staff wash printed aprons?
Follow instructions for the exact garment and transfer. Avoid inventing wash temperatures or chemical tolerance that have not been verified for that combination.
Preparing an order? For garment, artwork and print specifications, consult JCP’s official printing-service information and request a quotation for the exact item and quantity.