
Heat-Applied Logos on Polyester: Test for Dye Migration Before Production
A white heat-applied logo can look correct immediately after pressing and later take on a pink, blue or grey tint on some dyed polyester garments. That colour shift is called dye migration, and it is a material-and-heat interaction that should be tested before a large run.
In This Article
Direct Answer
Treat dark or strongly dyed polyester as a migration-risk substrate until it has been tested. Press the actual transfer onto the actual garment, let it cool and recheck the colour after time has passed rather than approving it straight off the heat press. If colour moves into the transfer, the production method or transfer construction needs to change.
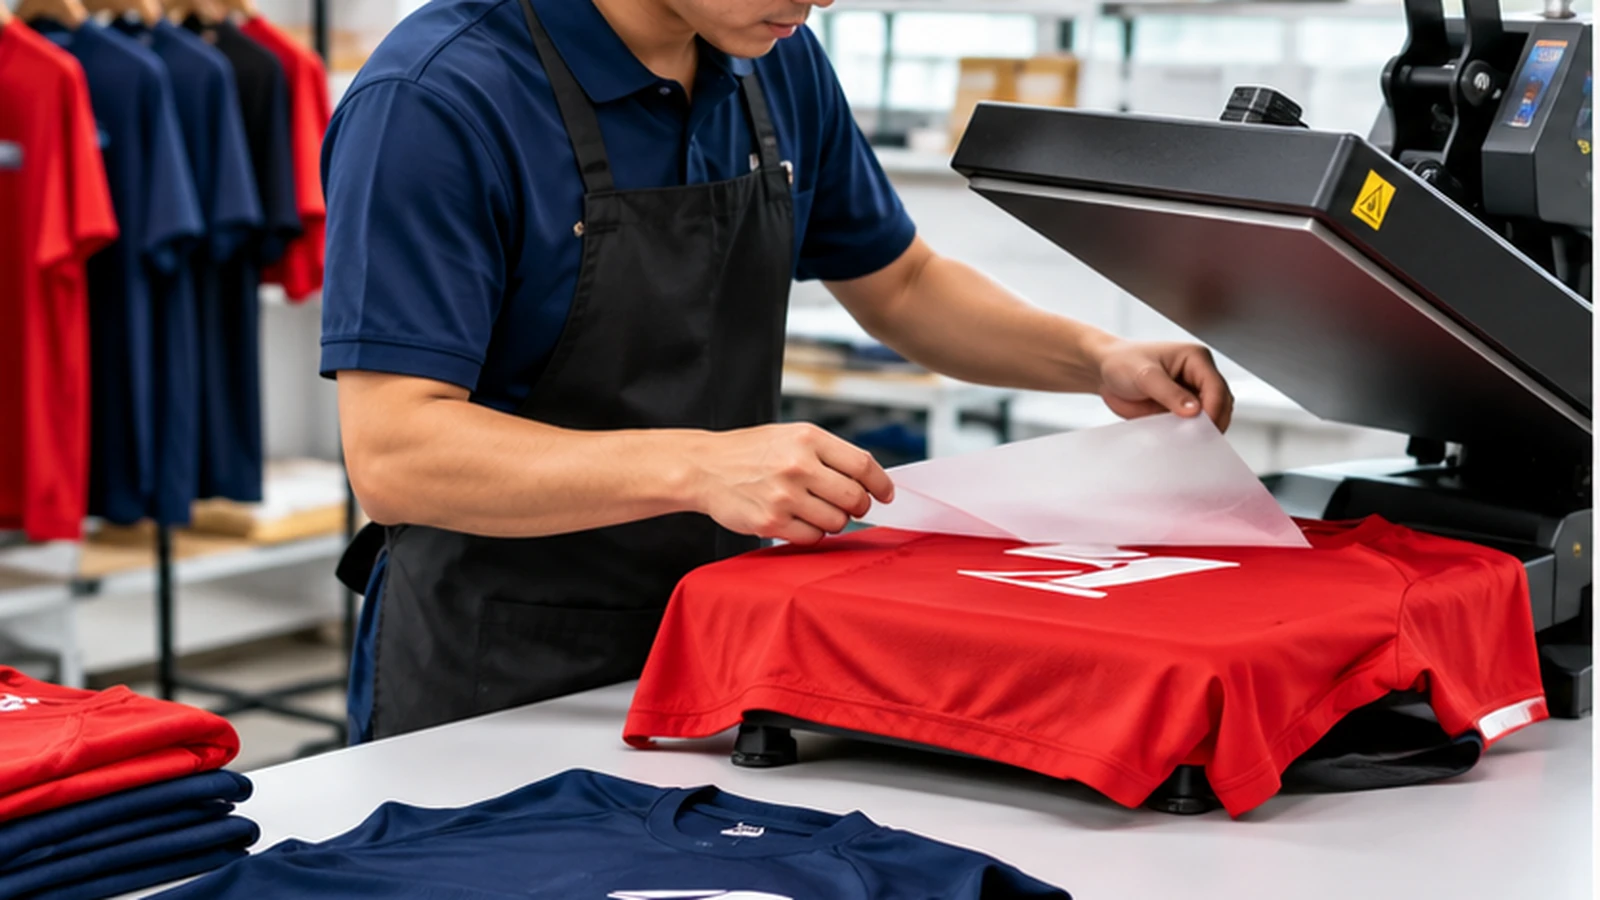
What Dye Migration Looks Like
Polyester is commonly coloured with disperse dyes that are designed to bond with the fibre under heat. When a decorated garment is exposed to heat again, some dyes can become mobile enough to move toward a light-coloured transfer or ink layer. A clean white logo can therefore become slightly pink on red fabric, blue on navy or grey on black. The shift is often easiest to see in white or pale grey because even a small amount of migrated colour becomes visible.
This is different from the transfer peeling away. Adhesion can be excellent while the colour is still contaminated from below. That distinction matters because adding more pressure does not solve migration and may expose the garment to more heat. It can also be confused with a deliberately off-white transfer or a dirty platen, so compare against an unused transfer sample and inspect several garments before diagnosing the cause.
Higher-Risk Garments Need Earlier Testing
Strong reds, navies, blacks and other saturated polyester colours deserve particular attention, especially in sportswear and performance shirts. The exact risk depends on the fabric, dye system, manufacturing history and the heat profile used during decoration. Two polyester shirts that look similar can behave differently.
Do not assume a previous successful job proves every new garment is safe. A change of supplier, colourway or fabric construction is enough reason to repeat the test. The cheapest test is one transfer on one real garment before hundreds are decorated. If several garment colours are in one order, test the darkest and most saturated colours first rather than assuming the lightest colour is representative.
| Observation | What It Suggests | Next Step |
|---|---|---|
| White turns pink on red polyester | Possible dye migration | Review transfer / heat system |
| Edges lift but colour stays clean | Adhesion issue instead | Review press contact and application |
| Sample is clean immediately | Not yet conclusive | Recheck after cooling / time |
| New garment supplier or colour | Different substrate risk | Repeat migration test |
Do Not Approve the Sample Only While It Is Hot
Some migration becomes more noticeable after the decorated fabric has cooled or sat for several hours. Build a delay into the approval process. Photograph the logo after pressing, then compare it later under the same lighting rather than relying on memory. Keep the sample flat and away from other coloured fabrics during the waiting period so transferred surface contamination does not confuse the result.
For a demanding corporate colour such as pure white, use a retained control sample of the unprinted transfer colour if possible. The question is whether the pressed result remains acceptably close after cooling, not whether it looked bright for the first minute. A simple approval routine is to check at press-out, after full cooling and again the next day. If the colour continues to shift, the sample should not be treated as approved.
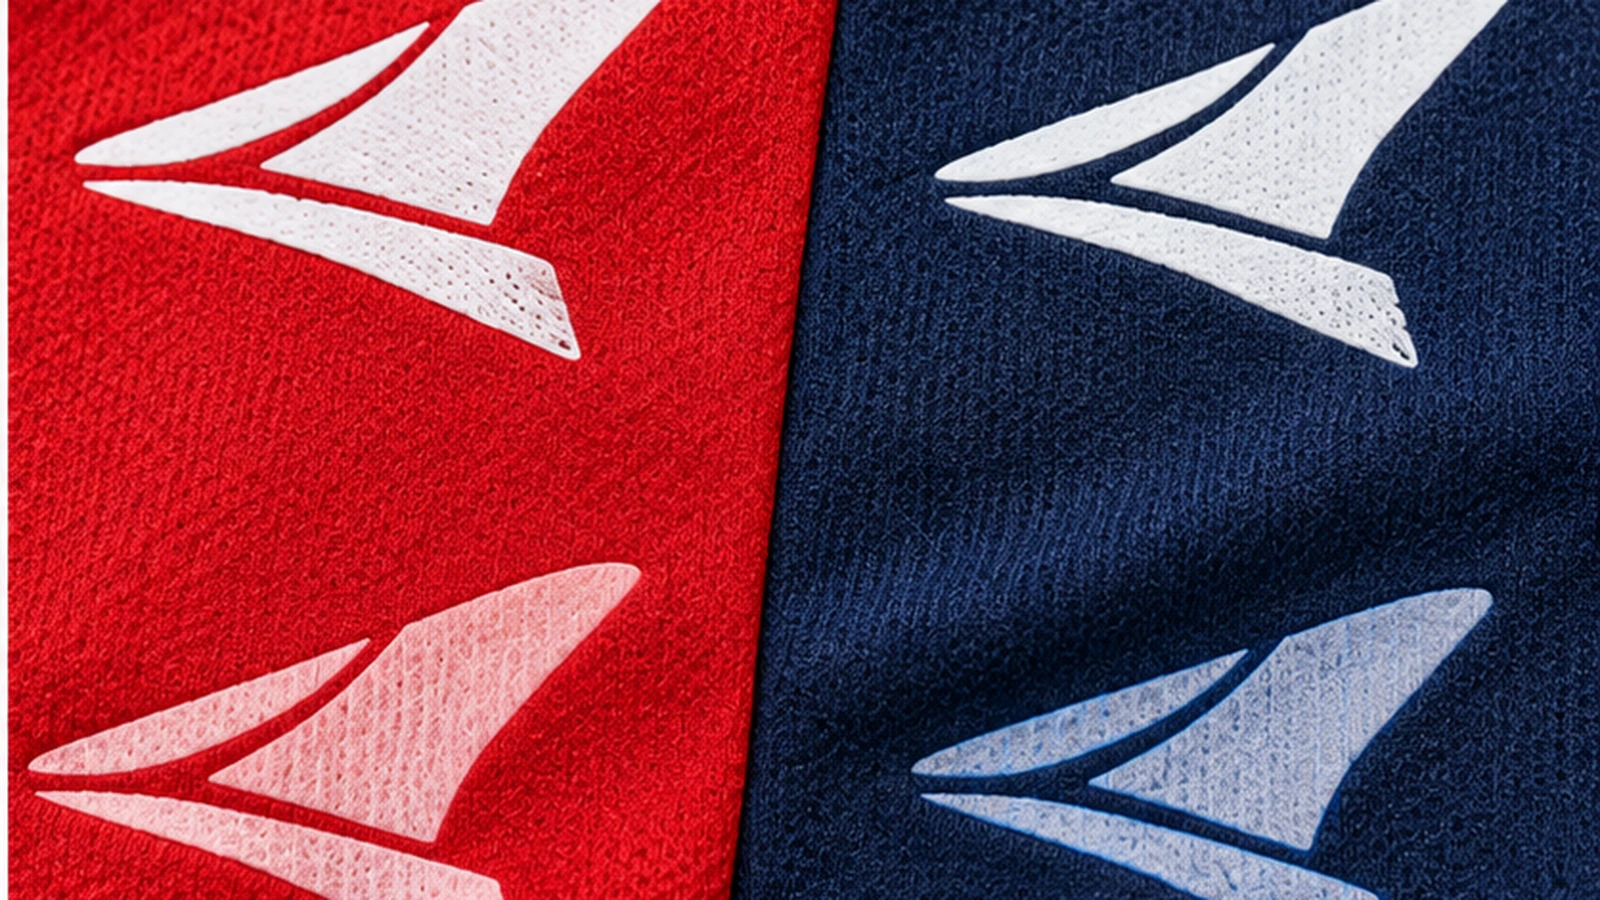
Production Options Depend on the Transfer System
Suppliers may use migration-blocking layers, lower-temperature transfer systems, different inks or another decoration method when the substrate is problematic. Each option changes the production recipe and sometimes the feel or appearance of the print. That is why the remedy should come from the producer who knows the transfer construction rather than from trial-and-error home pressing.
If a logo includes several pale colours, test the lightest areas because they usually make contamination easiest to see. Large white blocks are particularly useful indicators during sampling. Where possible, keep the visual design unchanged while changing the transfer construction; this isolates the production fix from an unnecessary artwork redesign.
Record the Garment and Press Recipe After Approval
Once a combination works, document the garment model and colour, transfer type, application settings and approved artwork version. This is especially important for teamwear that may be replenished later. A reorder should repeat the tested recipe rather than starting from a generic DTF or heat-transfer instruction. Include the press temperature, time and any special barrier or low-temperature material in the internal job note so later staff do not recreate the order from generic settings.
If the garment supplier changes the fabric or dye lot materially, test again. The production record is a baseline, not a guarantee that every future polyester behaves identically. If the order is mission-critical, retain one approved sample from the successful run as a physical reference for future top-ups.
A clean white logo immediately after pressing is not the end of the test on dyed polyester.
Frequently Asked Questions
Is dye migration the same as print peeling?+
No. Migration is colour moving into the decoration; peeling is an adhesion failure.
Does every polyester garment have this problem?+
No. Risk varies by fabric, dye and production conditions, which is why sampling is useful.
Can I solve migration by using more heat?+
More heat is not a general solution and can worsen dye movement. The producer should select an appropriate transfer and press recipe.
Printing Logos on Performance Polyester?
JCP can test the garment and heat-applied decoration before a larger production run.