
Embroidery on Lightweight Corporate Shirts: Preventing Puckering Before Production
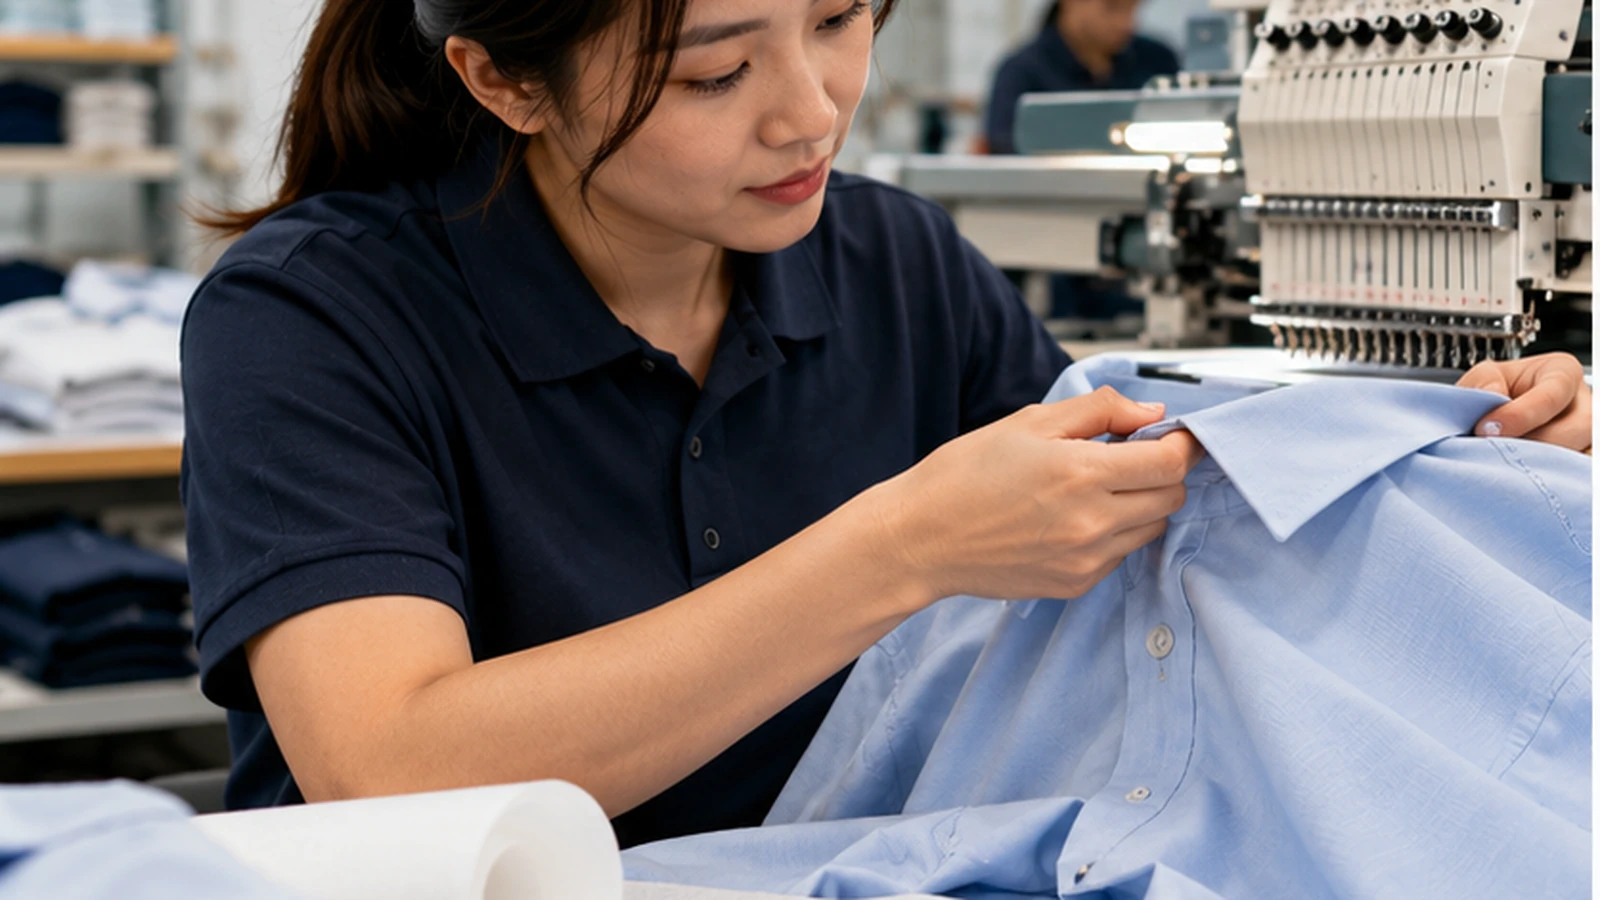
Lightweight corporate shirts can carry embroidery well, but a dense chest logo can pull the fabric into ripples if the design, backing and garment are not treated as one system. A physical sew-out on the actual shirt is the fastest way to see whether the fabric stays flat before the bulk run starts.
In This Article
Direct Answer
Do not approve a lightweight-shirt embroidery from a vector file alone. Test the real logo at final size on the actual garment, then inspect the fabric around the stitching for rippling, distortion and stiffness. If the shirt puckers, the fix may involve digitising, stitch density, backing, placement or logo size rather than simply pressing the finished garment flatter.
Why Lightweight Fabric Shows Puckering More Easily
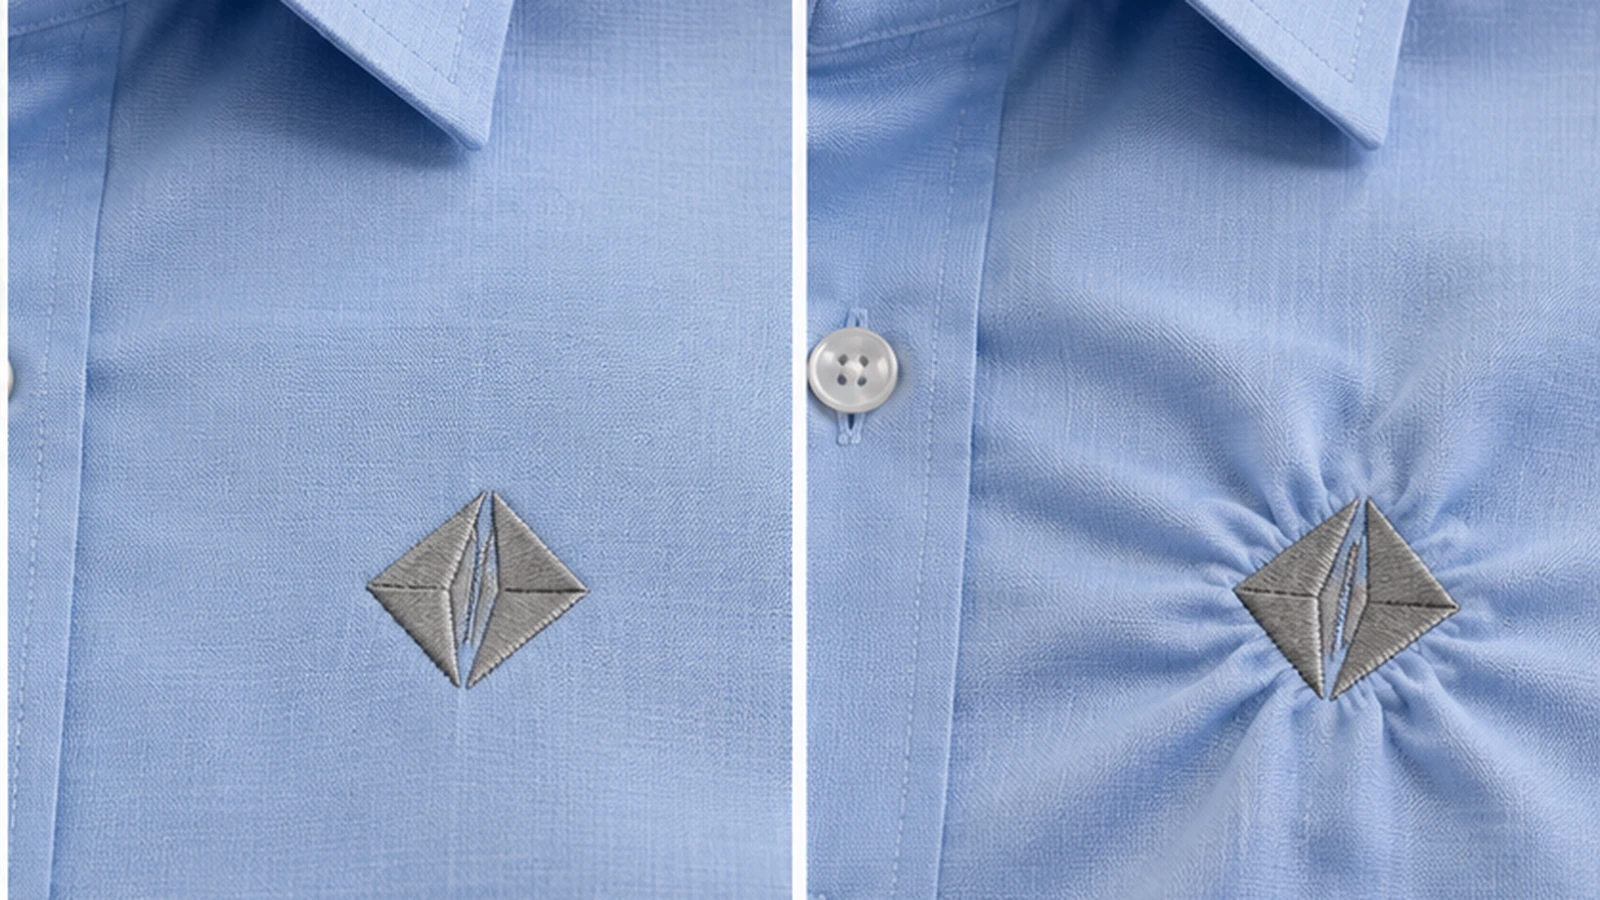
Embroidery adds thousands of needle penetrations and pulls thread across the fabric in several directions. A heavier polo knit can hide some of that tension, while a fine woven corporate shirt has less mass to resist it. When the stitch programme is too dense for the cloth, the embroidered area can contract slightly and draw the surrounding fabric inward. The result is the familiar ring of waves or wrinkles around a logo that looked perfectly flat in the artwork file.
Fabric weight is only one part of the picture. A soft, drapey shirt, a stretch blend or a very smooth woven can each react differently to the same logo. That is why using a scrap of unrelated fabric as the only proof is risky. The garment construction and exact chest panel should be part of the test.
Digitising Determines How the Logo Pulls on the Shirt
An embroidery file is not simply a coloured version of the logo. The digitiser chooses stitch type, direction, sequence, underlay and density, and those choices decide how tension is distributed. Large filled areas or several layers of stitching stacked in one place can make a light shirt feel rigid and can increase the chance of distortion. Fine details may also tempt production to add more stitches than the fabric comfortably supports.
A good production review asks which details actually need thread. Simplifying tiny shapes, reducing unnecessary overlap or changing the direction in which sections sew can preserve the visual identity while lowering stress on the garment. The objective is not the highest possible stitch count; it is a clean logo that the shirt can physically carry.
| What You See | Likely Area to Review | Useful Production Response |
|---|---|---|
| Ripples around the whole logo | Overall stitch load or stabilisation | Review density, underlay and backing |
| One section pulls strongly | Local stitch direction or overlap | Simplify or redigitise that area |
| Logo looks tilted when worn | Placement reference | Re-measure from garment landmarks |
| Inside feels too stiff | Backing / stitch coverage | Balance support with comfort |
Backing Supports the Fabric During Sewing
Backing, also called stabiliser, helps the garment resist movement while the needle and thread are working. The appropriate type and amount depend on the fabric and design, so more backing is not automatically better. Too little support can allow shifting and rippling, while an overly heavy backing may leave a stiff patch that is uncomfortable or visible through a thin shirt.
Inspect the reverse side of the approved sample as well as the front. The backing should support the embroidery without creating an unnecessarily bulky square on the inside. For uniforms worn directly against the skin, comfort matters because a technically neat logo can still become a poor daily-wear choice if the reverse feels harsh.
Keep the Logo Away From Areas That Already Have Structure
Chest seams, darts, pocket edges and plackets change how a shirt lies under an embroidery frame. A logo placed very close to one of these features may be harder to hoop evenly and can look visually tilted when the shirt is worn. The placement should be measured from stable garment landmarks, then checked on a person or mannequin rather than judged only on a flat table.
If a pocket is involved, confirm whether the embroidery is intended above it, on it or beside it. Sewing through a functional pocket can close part of the pocket or make it difficult to use. A few centimetres of placement adjustment can often improve both production access and the finished balance.
Approve a Sew-Out After the Shirt Has Relaxed
Immediately after embroidery, fabric may still be compressed from hooping and handling. Let the sample relax, then view it hanging naturally. Check whether the logo remains level, whether ripples radiate from the edges and whether the shirt front still drapes smoothly. Light steaming may remove temporary hoop marks, but it should not be used to hide structural puckering caused by the stitch setup.
Once the sample is accepted, record the garment model, size used for approval, logo dimensions, thread colours and final embroidery file. That turns a successful sample into a repeatable specification for later staff additions rather than forcing the next order to start from a screenshot.
The correct embroidery file is the one that works on the actual shirt—not the one with the most stitches or the most microscopic detail.
Frequently Asked Questions
Can every lightweight corporate shirt be embroidered?+
Many can, but the garment, logo size and stitch programme should be tested together before bulk production.
Will thicker backing always stop puckering?+
No. Backing helps stabilise the fabric, but excessive backing can create stiffness and does not correct poor digitising.
Should the logo be made smaller if the shirt puckers?+
Sometimes, but first identify whether density, overlap, backing or placement is the real cause. A smaller logo with the same problem setup can still pucker.
Preparing Corporate Shirts for Embroidery?
JCP can review the garment, logo size and placement before a production sew-out is approved.