
Embroidery Backing and Stabiliser: What Buyers Can Check on a Finished Uniform
Many buyers judge embroidery from the front only, but the reverse side often tells you whether the logo will remain stable, clean and wearable in daily use. Backing and stabiliser are not minor technical details. They directly affect puckering, stitch definition, fabric support and long-term comfort.
In This Article
- What backing and stabiliser actually do
- What to inspect on a finished sample
- Common failure modes buyers should catch early
- How to approve embroidery more confidently
Direct Answer
Many buyers judge embroidery from the front only, but the reverse side often tells you whether the logo will remain stable, clean and wearable in daily use. Backing and stabiliser are not minor technical details. They directly affect puckering, stitch definition, fabric support and long-term comfort.
What backing and stabiliser actually do
Embroidery adds thread density and tension to the base garment. Without enough support, the fabric can shift while stitching, which leads to wavy outlines, puckering around the logo or an uneven fill area. Backing and stabiliser work by supporting the fabric during stitching and, in many cases, remaining as part of the finished structure. Different garments need different support. A firm woven corporate shirt may behave very differently from a soft polo or a light performance fabric. Buyers do not need to memorise every technical product name, but they do need to understand that the reverse side is part of embroidery quality. A clean-looking front can still hide poor support that shows up only after laundering or repeated wear.
What to inspect on a finished sample
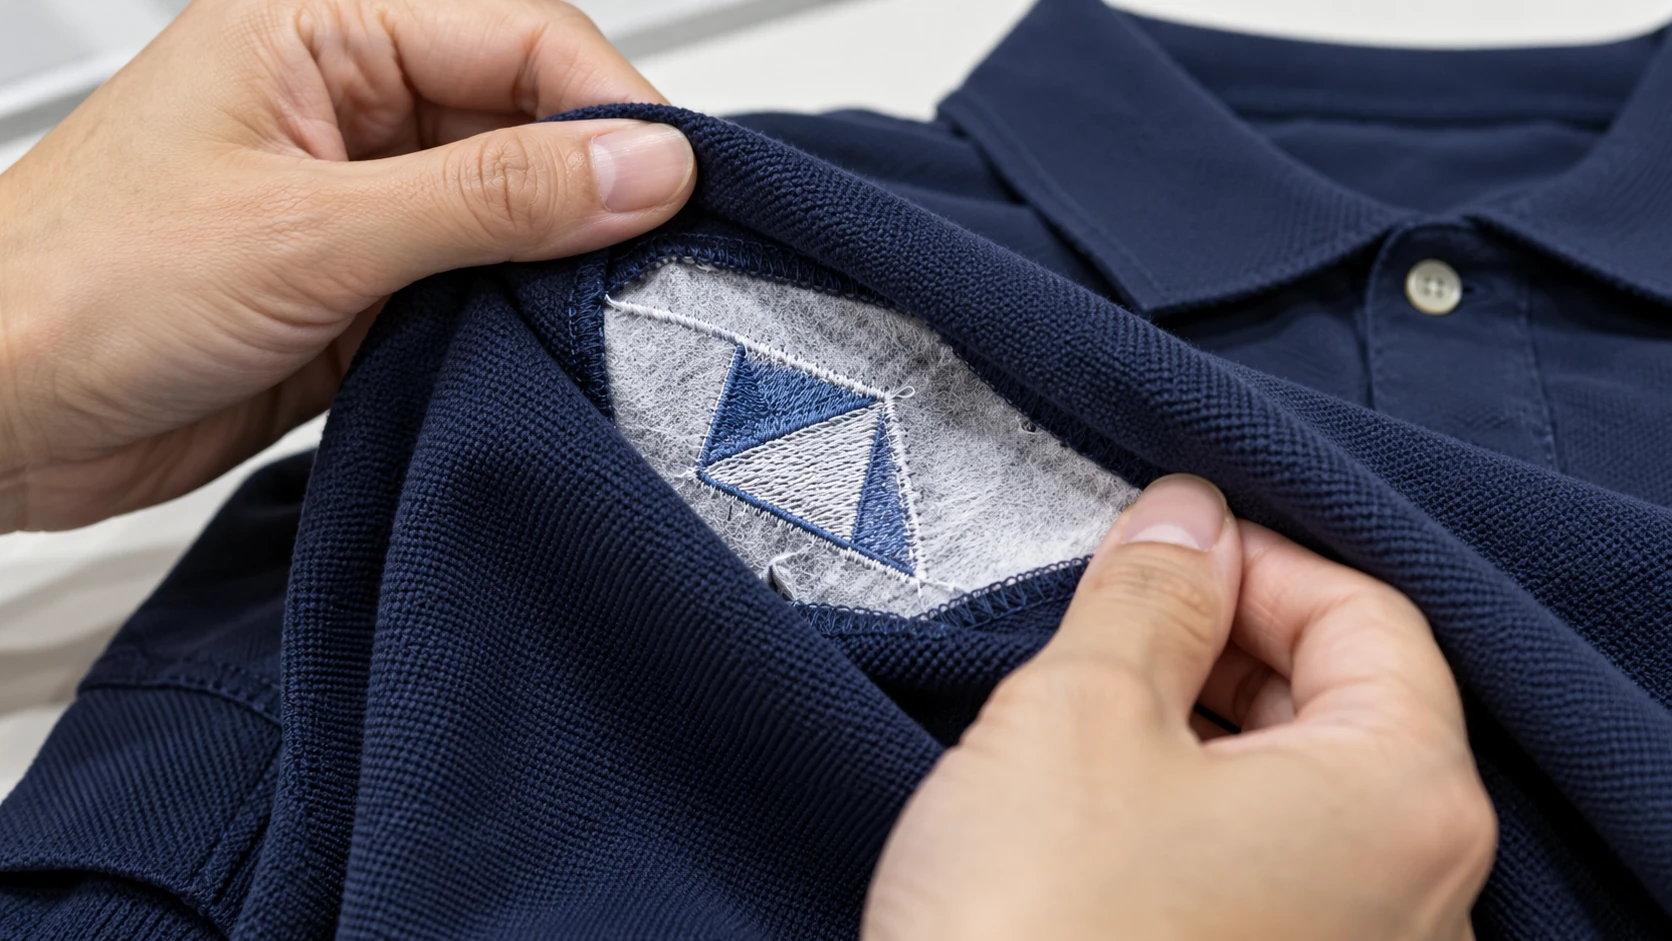
Start by turning the garment inside out or opening the stitched area from the back. The first question is whether the backing size and placement make sense for the logo. If the support is too small, the stitch field may pull against the fabric edges and create distortion. Next, check whether the stitching feels excessively stiff or scratchy, especially on polos worn directly against the skin. Look for loose thread ends, irregular tension, thread nests or a messy reverse that suggests the process was not controlled well. From the front, inspect whether the outer edge is smooth, whether the fill direction looks consistent and whether the garment surface remains relatively flat around the logo. These are practical buyer checks that do not require specialised machinery.
Common failure modes buyers should catch early
The most common failure mode is puckering, where the fabric ripples around the logo because the stitches are too dense or the support is inadequate. Another issue is show-through, where the shape of the backing is too obvious or uncomfortable, especially on lightweight garments. Buyers should also watch for overly dense fill areas on small logos. A digitised logo can be technically accurate yet still too heavy for the base fabric. When that happens, the finished result may look thick, stiff or shiny. Repeated laundering can then make the issue more obvious. Catching these problems at sample stage is much easier than arguing about them after several hundred uniforms are already sewn and packed.
How to approve embroidery more confidently
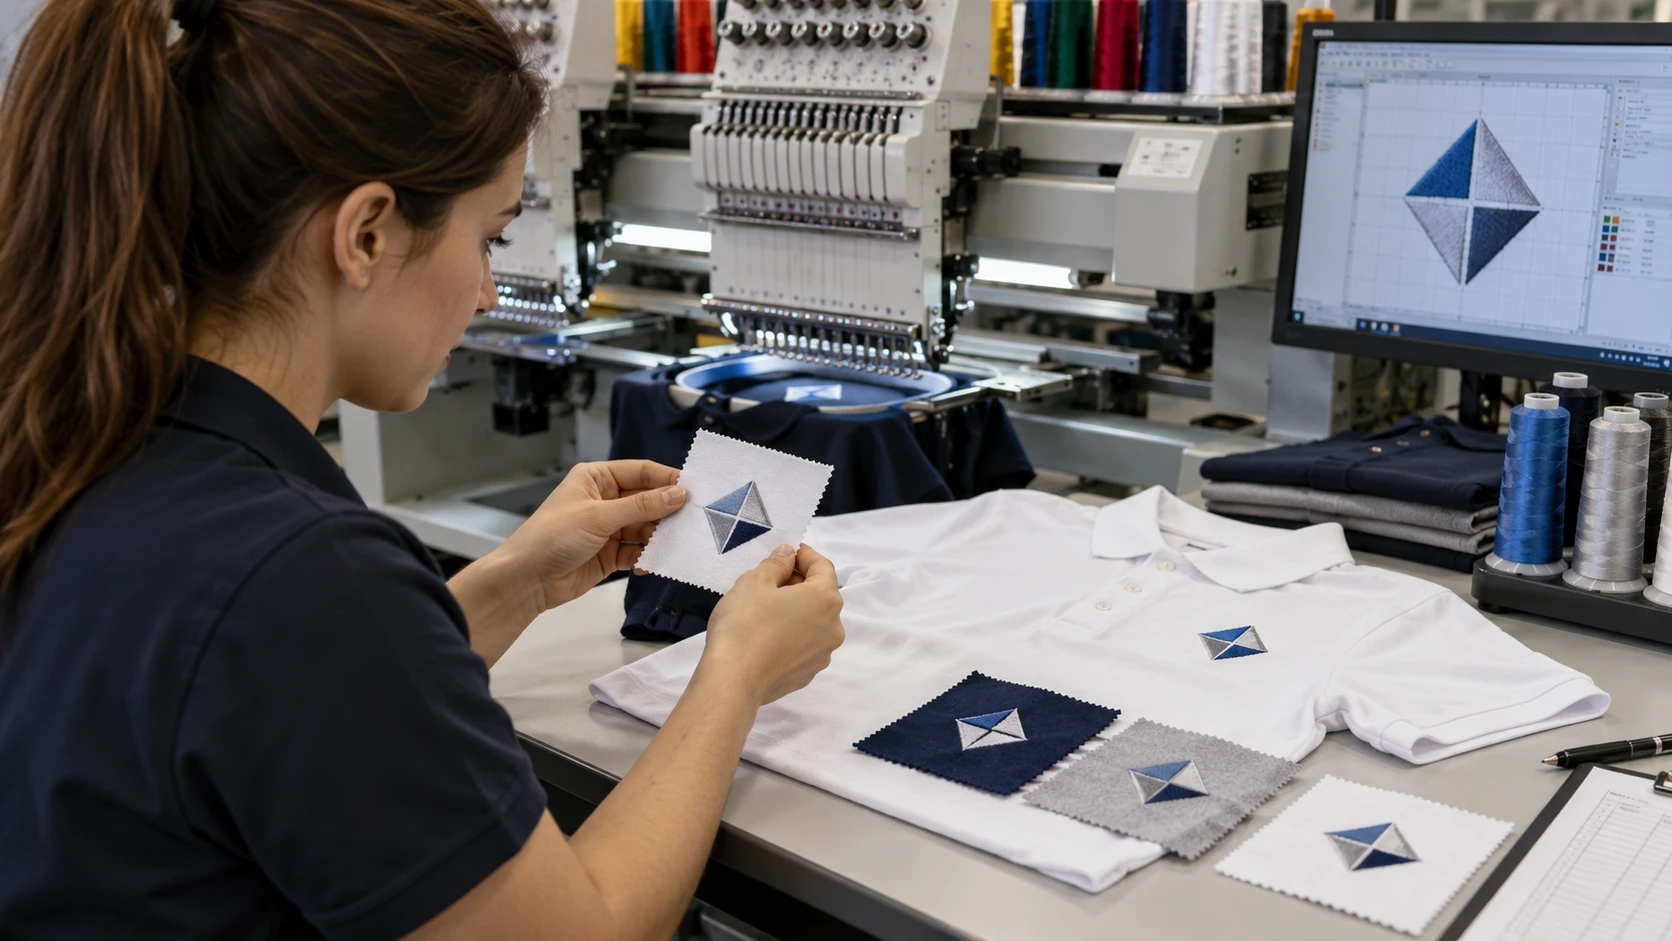
A strong approval process compares the stitch sample, the final garment sample and the intended use of the uniform. For example, a chest logo on a hospitality polo should be neat and comfortable, while a logo on a tougher workwear item may prioritise durability first. Ask the supplier what backing type is being used and why it suits the garment. You do not need a long technical lecture; a clear practical explanation is enough. If the garment is sensitive, request one or two small wear-and-wash checks before full approval. That small step often reveals whether the backing choice and digitising decisions are genuinely appropriate for the uniform program.
Quick Comparison Table
| Check area | What to look for | Why it matters |
|---|---|---|
| Front appearance | Smooth outline, even fill, minimal puckering | Shows whether the fabric stayed stable during stitching |
| Reverse side | Clean backing placement, no messy thread nests | Reveals process control and garment comfort |
| Stitch density | Not overly stiff or bulky for the fabric | Protects comfort and reduces distortion risk |
| After-wash behaviour | Logo stays flat and wearable | Confirms long-term performance, not just sample appearance |
Key Takeaway
If the embroidery looks acceptable from the front but uncomfortable, messy or unstable from the back, the sample is not truly production-ready. Front appearance and reverse construction have to agree.
Frequently Asked Questions
Should all embroidered logos have backing?
In most practical uniform cases, some form of support is used because the stitching needs stability.
Does more stitch density mean better quality?
Not necessarily. Too much density can make the logo heavy and distort the garment.
Can buyers request a wash test for embroidery?
Yes, and it is a useful way to verify whether the sample holds its shape after real use.
Need Help With This Type of Order?
If you are planning embroidered polos, shirts or workwear and want help balancing appearance, comfort and durability, contact JCP to discuss the specification.
Contact JCP