
Embroidery Puckering: What to Check Before Blaming the Polo Shirt
Puckering around an embroidered logo is usually a production-system problem rather than proof that the garment is poor quality. Fabric stretch, stabilizer, hooping, stitch density and thread tension all interact, so the useful fix is to identify which part is pulling the fabric out of shape.
In This Article
Direct Answer
Puckering around an embroidered logo is usually a production-system problem rather than proof that the garment is poor quality. Fabric stretch, stabilizer, hooping, stitch density and thread tension all interact, so the useful fix is to identify which part is pulling the fabric out of shape.
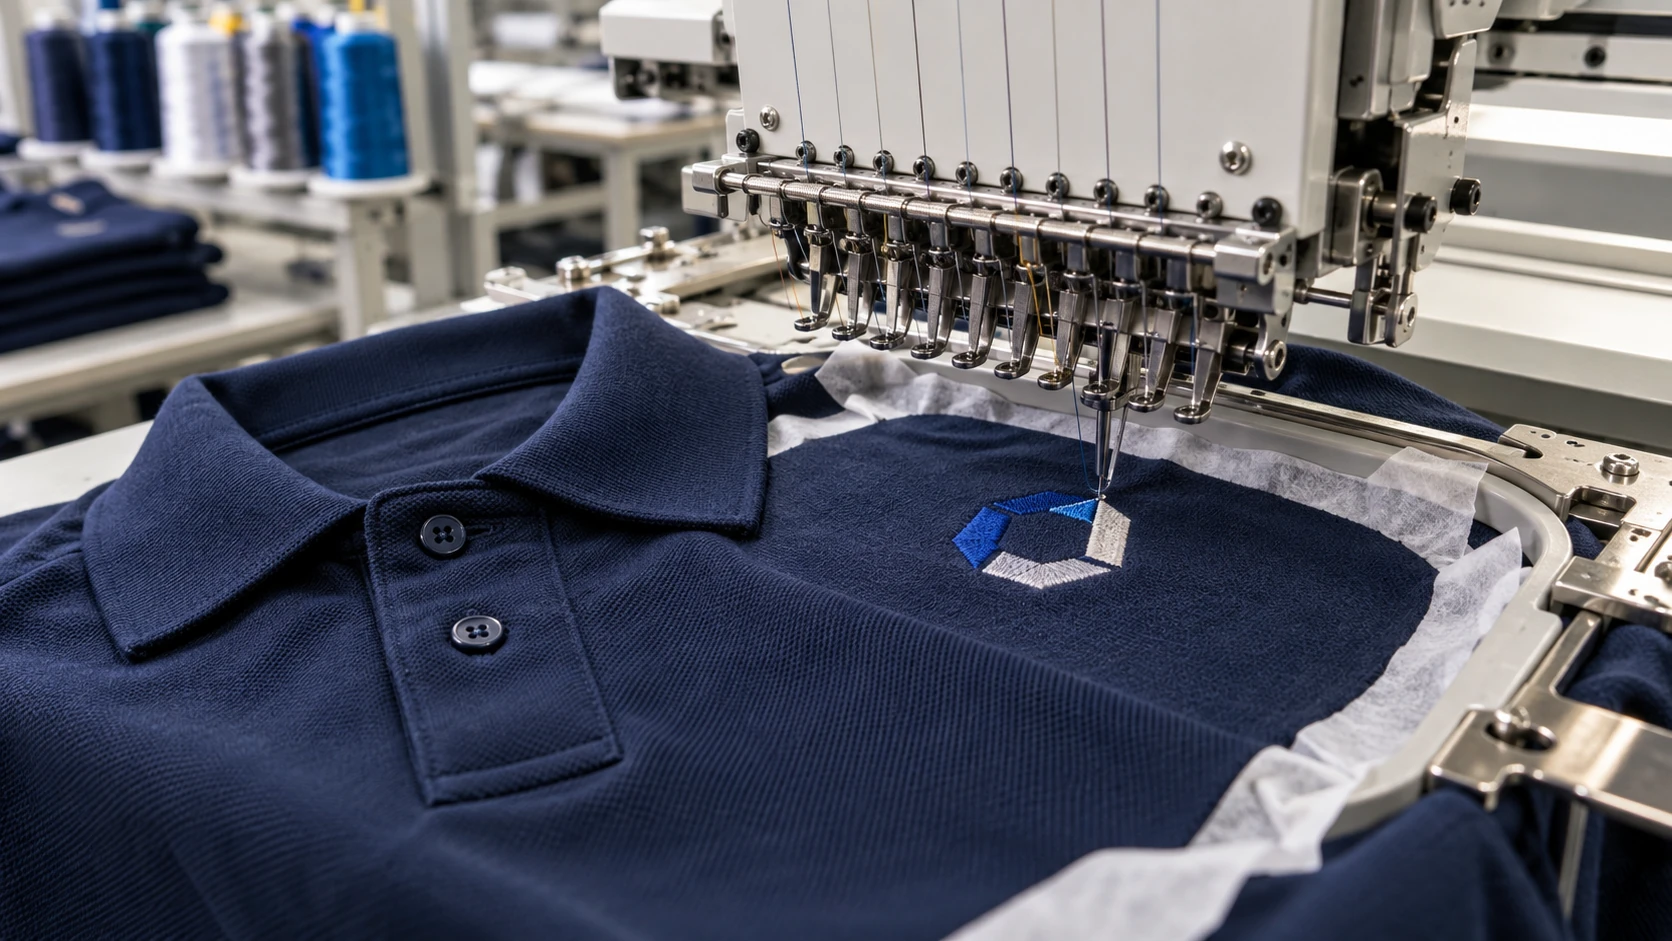
Read the Shape of the Pucker
Puckering is not one defect with one cause. If the fabric pulls inward evenly around all four sides of a rectangular logo, excessive stitch density or insufficient stabilisation is a strong suspect. If distortion appears mainly along one direction, hooping tension or the stitch sequence may be contributing. A soft pique polo can also move more than a tightly woven corporate shirt because the knit structure has more give. The direction and location of the distortion are useful clues before any setting is changed. Photograph the sample flat, note where the waves begin, and compare it with the digitised stitch direction. That gives the production team something more useful than simply saying the embroidery looks wrinkled.
Stabilizer Has to Match the Fabric
Backing supports the garment while thousands of needle penetrations and thread movements take place. A light, stable woven fabric may need less support than a stretchy knit polo, while a very dense chest logo can require more support than a small open design. Using too little backing can let the fabric contract around the stitches; using an unnecessarily heavy backing can make a soft shirt feel stiff. The backing also has to extend beyond the embroidered area so the hoop can control it properly. For repeat corporate orders, record the stabilizer type with the approved garment and embroidery file instead of treating backing as an invisible production detail. That record helps the next batch reproduce the same result.
| Symptom | Likely Area to Check | Useful Test |
|---|---|---|
| Waves around the whole logo | Density / stabilizer | Run a lower-density sample with suitable backing |
| Distortion mainly in one direction | Hooping / stitch sequence | Check grain and sequence on a fresh hoop |
| Fine details look heavy | Digitising | Simplify tiny fills or borders |
| Looks fine in hoop, puckers after release | Over-stretching | Hoop without stretching the knit |
Density and Underlay Matter More Than Logo Size Alone
A small logo can still be demanding if it contains large solid fills, closely packed borders or many overlapping elements. More thread in the same area means more pull on the fabric. Good digitising uses underlay to create a stable foundation and chooses stitch density appropriate to the material instead of filling every area as tightly as possible. Very fine artwork may also need simplification because trying to preserve every tiny feature can increase density without improving how the logo reads at normal viewing distance. When a logo repeatedly puckers, compare a reduced-density test with the original before changing the garment. The objective is a clean logo on the shirt, not the highest possible stitch count.

Hooping Should Hold, Not Stretch
The garment needs to sit flat and secure in the hoop, but stretching a knit polo aggressively before embroidery can create a delayed problem. The fabric may look smooth while it is under tension, then contract after it is released and pull the finished logo with it. A useful check is to hoop the garment so the knit is supported without visibly changing its natural grain. Alignment marks should remain square, and the fabric should not feel drum-tight. If operators need extreme hoop tension to keep the shirt stable, the backing or hooping method may need revision. Test samples should be inspected after removal from the hoop, not only while they are still clamped.
Approve a Production Sample, Then Keep the Recipe
For a recurring staff uniform, the first good sample should become a production reference. Record the garment model, fabric, logo dimensions, thread colours, digitised file version, backing choice and placement. Wash the sample if the order is large or the uniform will be laundered frequently, because some distortion only becomes obvious after the fabric relaxes. If a future reorder changes shirt model or fabric, run a new test instead of assuming the old embroidery settings will transfer perfectly. This is especially important when moving between cotton-rich pique, polyester dry-fit and woven corporate shirts. A repeatable embroidery result comes from controlling the full combination, not from saving the logo file alone.
Treat embroidery as a fabric + digitising + stabilizer + hooping system. Changing only the shirt can hide the real cause.
Frequently Asked Questions
Can ironing remove embroidery puckering?+
It may reduce light wrinkles temporarily, but it will not correct excessive stitch pull or poor stabilisation.
Does thicker backing always fix the problem?+
No. The backing needs to suit the fabric and design; excessive stiffness can create a different quality problem.
Should the same embroidery file work on every garment?+
Not always. A file that runs well on woven fabric may need adjustment for a softer or stretchier knit.
Need Production Support?
If this issue affects an upcoming apparel or printing order, JCP can help review the material, artwork and production requirements before bulk production.
Discuss Your Requirements